Showing posts with label Tip Thursday. Show all posts

Thursday, January 19, 2023

Tip Thursday


Here's a handy tip for your layout titles. Use your triblend markers to color your chipboard alphas!

I've been working on my 40th birthday party layouts and this title simply wasn't working for me. The shape was good, the placement was good, the tone of the woodgrain wasn't right. Triblends to the rescue!

I liked the woodgrain alphas, not the color though. Time to change it!

I used my dark red triblend marker, tweezers, and a packing slip to color them.

My ruler kept slipping so I washi taped it down. Worked perfectly!

Et voila! My title is all colored, spaced out, and glued down. Simples! You can still see the darker woodgrain peeking through the dark red marker.

Like the look? Here's the products I used, click through to purchase: Flower Shoppe Paper Packet + Stickers, Flower Shoppe and White Daisy Exclusive Cardstocks, Tweezers, Ruler, Dual-tip Permanent Glue Pen, Woodgrain Die-cut Alphabet Numbers and Flowers, Dark Red and Antique Pink TriBlend™ Markers, and washi tape.

Shop with me today!

Stay up to date with all the fun, join my community!
twitter - instagram - facebook - pinterest - square - moo

Thursday, April 28, 2022

Tip Thursday - Clear Jars


Tip Thursday! I bought some pretty embossing powders while at Ipswich Papercraft Show. I can hear you saying "But you have embossing powders in your shop! Why did you buy elsewhere?!?"

1) I don't have access to these colors in my shop.
2) I saw them on sale and I helped out a fellow exhibitor with a sale.
3) They were $8.50 each or 2/$15.
4) I didn't have to pay for shipping!

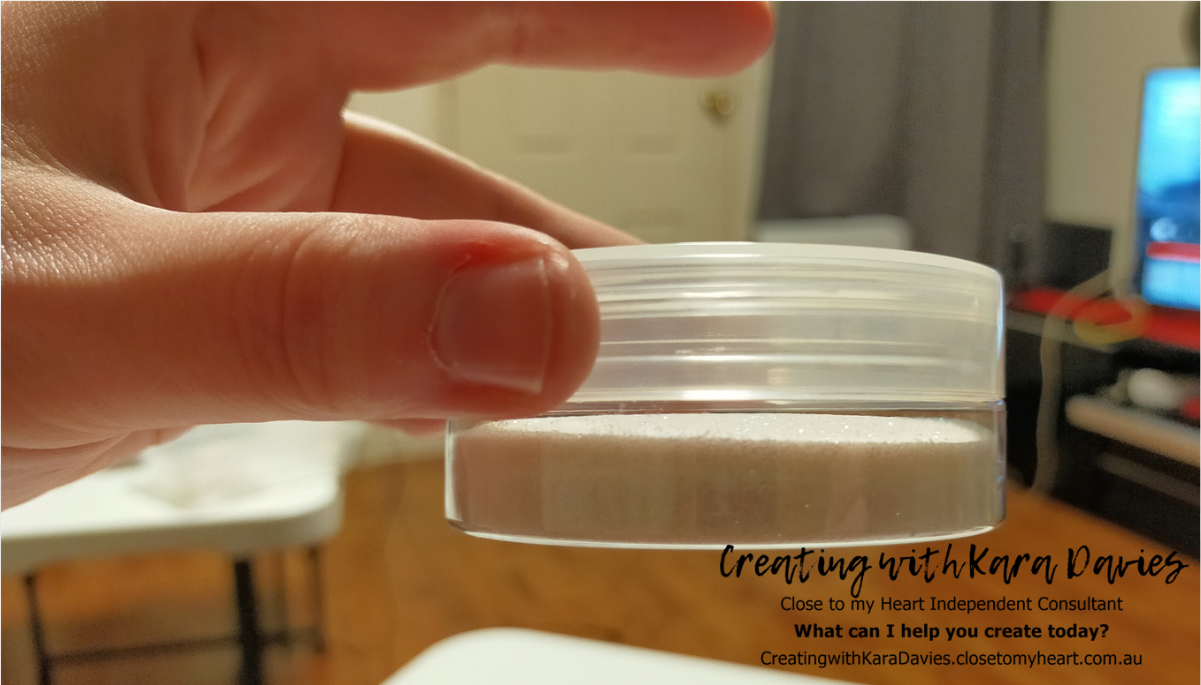
Normally, when I use embossing powders, it's a bit of a struggle to get the lids off or to pour back into such a small container. I decided to decant my new embossing powders into our Clear Jars instead. They are wider and shallower, and I find them easier to hold without potentially busting the lids. Et voila, I can now see my powders better and I have more control over pouring them.

These are standard size jars of Ranger embossing powder.

Clear Jars and embossing powder jars.

These colors are so pretty!

The holographic powder decanted into it's new jar.

All four decanted.

These look so appetizing and easier to craft with now.

A lot of people use the jars for storing loose gems, sequins, shaker bits, ribbons, brads, antistatic pouches, wooden buttons, acrylic shapes, snacks, and even packets of diamond dots!

I put all of my powders, my heat tool, and my antistatic pouch into a basket in my trolley. I have a lid for my trolley too.

Et voila! Easy to see, easy to grab, easy to put away when finished.

What bits and bobs in your crafting stash would you put into these jars?

Shop with me today!

Stay up to date with all the fun, join my community!
twitter - instagram - facebook - pinterest - square - moo

Thursday, September 26, 2019

Tip Thursday - Cleaning


It's been a while since I've shared a tip!

Hello, new stamp shammys. For reasons unbeknownst to me, we are no longer carrying our beloved stamp scrubbers* (whatever we have left in stock is it). We now have a Stamp Shammy for cleaning stamps.

You can get a 2 pack of stamp shammies.

You can also get one in our revamped Stamping Starter Kit.

How do you use these new cleaning tools? Watch this.


Note: your shammy will stain over time. Do not flip out. This does not affect the performance of the shammy. You know how our stamps change color with use? That's how the stamp material reacts with our inks. Our stamps still work just fine. Same goes for the shammy.

Pro tip: do not leave your shammy wet after use. Dry that puppy entirely before putting back in the bag. This is Australia. Damp + bag = moldy shammy. No one wants moldy in their shammy. Dry that shammy!

If you love our scrubbers, high tail it over to my shop today and get a few before they disappear for good. I like to keep one just for pigment and versamark inks, and one for regular inks. Pick up spritz while you're there too!

Shop with me today!

Stay up to date with all the fun, join my community!
twitter - instagram - facebook - pinterest - square - moo

Thursday, February 14, 2019

Time for Tip Thursday!


Q: how do I get the most out of my trimmer blades?

A: CUT IN ONE DIRECTION ONLY!

Pretty simple right? Unfortunately, what I see a lot of other crafters do is cut in both directions repeatedly. Not only is this blunting your blades much quicker, it is a lot of money being wasted.


What I do to get the most from my trimmer and replacement blades is cut in one direction and one direction only. To make sure I know which side of my blade is which, I mark them. Takes a few seconds and I'm good to go!


Give it a whirl and let me know in the comments how it's worked for you! I use the SureCut™ Deluxe Craft Paper Trimmer and Tripletrack™ Replacement Blades.

Shop with me today!


Stay up to date with all the fun, join my community!
twitter - instagram - facebook - pinterest