Welcome to my new blog series! I'm a scrapbooker and I've never really shared my method or process for how I create pages to fill my albums.
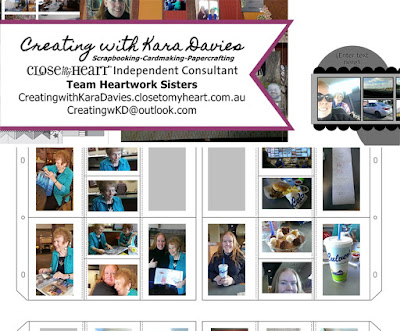
Today I'll share how I actually use my template for scrapbooking my edited images!
I've planned my pocket pages, I've resized and printed my images, and now I have a pile of printed photos to get scrapbooked. This is the fun part!
I tend to scrapbook in front of my computer or at my dining table. I get out all my supplies and settle in for a bit of crafting therapy. ;) My essential pocket scrapbooking supplies are: a D-ring album, page protectors, corner rounder, trimmer, pen, adhesive and refills, photos, and picture my life cards. I keep all my goodies in a medium organizer for easy scrapbooking when the mood strikes.
 |
| 2022 Edit: Medium Organizer shown is no longer available. Try the new Photo Organizer as shown here. |
With my supplies at the ready, I can get my pages made. I open up my album and load it with my page protectors (in the same pattern as my digital template). This makes it much easier to get rolling and I'm not hunting high and low for a certain page design!
Now that my pages are in my album, it's time to trim and sort my printed photos. I open up my saved filled template pages and follow the bouncy ball.
I trim my photos to size, round the corners and slip them into the correct pockets as shown in my templates.
 |
| Photos, adhesive, trimmer, corner rounder, and scissors are must haves! |
 |
| Photos cut and put in place before rounding and cards. |
Next up is rifling through my collection of cards and overlays and finding just the right ones to suit my photos. Once I'm happy with how my page looks, I flip over and start the next page. I don't follow the one week to a page, or fortnight to a spread idea. Whatever fits on the page and looks good is what I do. One day may be one photo, or it may be 3 spreads. It depends on the photos and the story!
I use a little bit of tape runner to help keep my cards and photos stuck together so they don't wiggle around in the pockets. I also journal as I go instead of waiting til later. My memory isn't what it used to be and waiting to journal at a later date is not best practice. Write the story down now while you are working with the photos!
Voila! A completed page with printed photos and journaling.
From here, it's really rinse lather repeat until done! When I'm out and about at crops, (or my husband has taken over the computer), I simply save my filled template pages to my phone. It doesn't take long to fill my albums with this method and it means that I can catch up on a big backlog of photos in a relatively short amount of time. It also means that when I go to Scrapbook Camps, all the prep work is done ahead of time so I can create during Camp and enjoy myself!
For this 10am-10pm workshop where I took these quick snaps of my process, I had 182 4x6 photos to scrap. That includes the 3x4s I had to cut apart. I have nearly all my 182 photos done and in place. I'm now out of memory protectors and have to order more. (Oh darn, more goodies to arrive!)
I hope you've enjoyed this lil look into how my brain works and how I scrapbook my pocket pages. If you've enjoyed this series, let me know in the comments!


No comments:
Post a Comment
All comments must be approved before they are visible. Abusive comments or spam of any sort are not allowed.