Showing posts with label custom job. Show all posts

Saturday, April 25, 2015

Custom Order

My mate Claire celebrated her birthday this week and held a formal dinner party under the stars at her parents house out in the sticks. It was a beautiful evening with a yummy dinner and hilarious conversations with a gorgeous bunch of women.

Claire asked me if I could make some floral and vintage feeling name plates and menus for the occasion. That I can!

Here's what we came up with via facebook chat and me rifling through my stash of goodies. I've used the April stamp of the month Typed Note along with other current and retired products for this project. The birthday girl loved them and I had a ball making them!

To make the name plates, I cut 3.75x4.25" rectangles and folded to make the bases. I used a corner punch from my stash to scallop the edges. I cut a strip of Ivy Lane paper and edged it before adhering. Then after a couple quick stamps of the typewriter, the sentiment, and names all on Colonial White cardstock (and plenty of fussy cutting), all I had to do was stick it down. Tada!
First name plate prototype.
To make the menus, I cut colonial white cardstock to 4.5x6.5". I stamped in multiple colors and stampsets before scalloping the edges annd mounting to 5x7 Kraft cardstock.
First prototype menu. Font is too big, had to find a smaller one...
After a few tweaks, here's the finished set. For doing this without any pattern or set dimensions, all straight from my noggin, we were both rather impressed!
They fit in perfectly with the antique table setting and decor.
I stamped the back side of the menus as a surprise for the birthday girl. ;)
Voila! A couple simple cuts and folds, some scalloped edges, stamping, and fussy cutting equals some classy handmade items perfect for a dinner under the stars.

Need something unique for your next party or event? I can make something custom just for you. Contact me for more details.

Materials used, * = retired: Trimmer, Versamat, MyAcrylix blocks, Spritz, Scrubber, 3L® E-Z Dots® Adhesive, Non-stick Micro-tip Scissors, Glamour uppercase and lowercase alphabets, You Are My Happy icons* and alphabet*, April sotm Typed Note, Finding the Words stampset, Blossom Cardmaking WOTG kit stampset, Black, Blush*, Honey, Sweet Leaf, Chocolate, Bamboo exclusive inks, Ivy Lane paper*, Colonial White and Kraft cardstocks.


Friday, July 11, 2014

Custom Orders

I just finished two custom pieces for two ladies. J and A, here's your Base & Bling necklaces! I'll bring them on the 18th! I hope the recipients enjoy them as much as I enjoyed making them. :)


Saturday, May 31, 2014

In print

I love love LOVE seeing my custom design work in print!

In today's mail was our invitation to my middle brother Erik's wedding. He and his fiance Rachel chose a lovely set of pictures to use. With their input, and lots of 3-5am bedtimes (on my end!), this is the finished product. I'm pleased with how it turned out!
Now I get to do another custom order.... their programs! Oh my, I'm busy! Invitations, programs, being one of the bridesmaids....
Got my dress...
Got my shoes...
Now, on to the programs.

#bringcoffee

#stat.

(I'll love you forever!)


Thursday, March 20, 2014

Latest creations

Good evening lovelies,

I've been delving into the Originals cardmaking how-to book this week and I'm loving it. If you follow me on instagram or Twitter, you'll have seen these. For those of you that aren't yet following me on social media, here's what I've been up to. :)

These are two of the many how-to books from Close to my Heart. Very much worth the $20 price tag each!
The first of my limited edition 5 card sets, "Sarita Sentiments". This set of five handmade and hand stamped cards is $10. I have four sets available for purchase. 
One set all packaged up, ready for sale.
The start of my second limited edition set, "Laughing Lola Sentiments". Keep an eye out for the rest of the series!
Did you know that I sell my cards, and possibly some premade pages? I do! My cards for sale are listed under two albums on my Facebook page. Prices range from $2.50 up to $5.00 for a custom order. Need a special card for an occasion and don't see one in my shop that fits? Contact me for a custom order quote. My most recent custom order went down fantastically with the orderer and recipient! Like the cards I have on offer and want to make them yourself? Come to my cardmaking workshops! Learn the techniques I use with stamping, layout, design and assembly. It's a fun afternoon of creating and getting inky!

Don't forget, my order cutoff date is coming up quickly. March 28th, get in touch with me asap to add your selections!

Happy shopping and crafting!


Friday, February 14, 2014

Instant Gratification

Looking for some instant gratification when it comes to your crafting? Close To My Heart's Base & Bling line has expanded! More sophisticated than ever, the line now features your choice of faux antiqued gold or silver chains and pendants with four distinct styles of customizable elements. Whether you veer toward vintage, nurture your inner nerd, dare to daydream, or crave crafting, you and your customers are sure to find the perfect bling for your unique personalities. 

This video starring Kristine and Monica features the necklace part of Base & Bling. Have a watch. I'm planning a workshop for April featuring Base & Bling necklaces, perfect for Mother's Day gifting!


Who thinks they'd like to have a go at making their own custom personalized piece of wearable art?
These are just a few examples of what you can do with Base & Bling components. They're gorgeous! Whether you stick with one finish or like the mixed metals look, there's a wide variety of options when it comes to customizing your piece. Perfect for Mother's Day, birthdays, anniversaries, new mums/grandmothers, a lovely piece for a new bride, or even as bespoke jewelry for bridesmaids!


I'm taking expressions of interest now. Comment here or email me. Pending numbers of people interested, I'll make an event on my facebook page. Keep an eye out!


Sunday, January 19, 2014

Full reveal

Remember that sneak peek wedding project I shared earlier? Today the bride and groom opened it and love it! :D Here's the full album. Like this project idea? Want to make your own? I can help you with that!

P&B's Wedding Mini Album


Tada! A 20 page mini album for the happy couple. Congratulations again Paul and Bianca!


Tuesday, January 14, 2014

Project Sneak Peek

Yesterday at our Brisbane Consultant Fun Day, I made this little paper album for our mates who got married on the 4th.

It's 20 pages long, 6"x7" in size, and cut by hand. No Cricut machine required! I used a mix of old and new supplies to make it.

For Always paper packet, For Always WOTG stamp set, assorted blocks, black and sorbet inks, mini sparkles, pink glitter gems, sorbet cardstock, stamp scrubber, stamp spritz, glamour lowercase alphabet stamp set, sparkle flourishes, Chantilly WOTG stamp set, Slate washi tape, and For Always my stickease.

The bride and groom haven't seen the entire book yet so here's a quick sneaky peek. I'll post the whole album after they've seen it.


I did this project as a once off to use my instagram photos. This could *easily* be adapted to fit one of our My Creations™ Kraft 3-Ring Albums. Use those instagram photos ladies!

Saturday, December 7, 2013

Advent Calendar project

As promised, here's how I made my Advent calendar.

Materials used: Chocolate and Colonial White cardstocks
Ruby, Topiary and Black exclusive inks
Sparkle & Shine WOTG kit stamp set
Magical Days stamp set
My Acrylix blocks

From my stash:
Tag maker
Black fine tip pen
Adhesive tape
Mini clothes pins
Hot glue gun and glue sticks
Corkboard

Our previous advent calendar is buried in the garage. In a box. On the bookshelf most inaccessible. So... I made a new one.

I took everything off my pirate ship fabric covered cork board and began fiddling with placement of my numbered tags.
Once I was happy with the arrangement, I looped some string and tied it as a baseline for gluing.
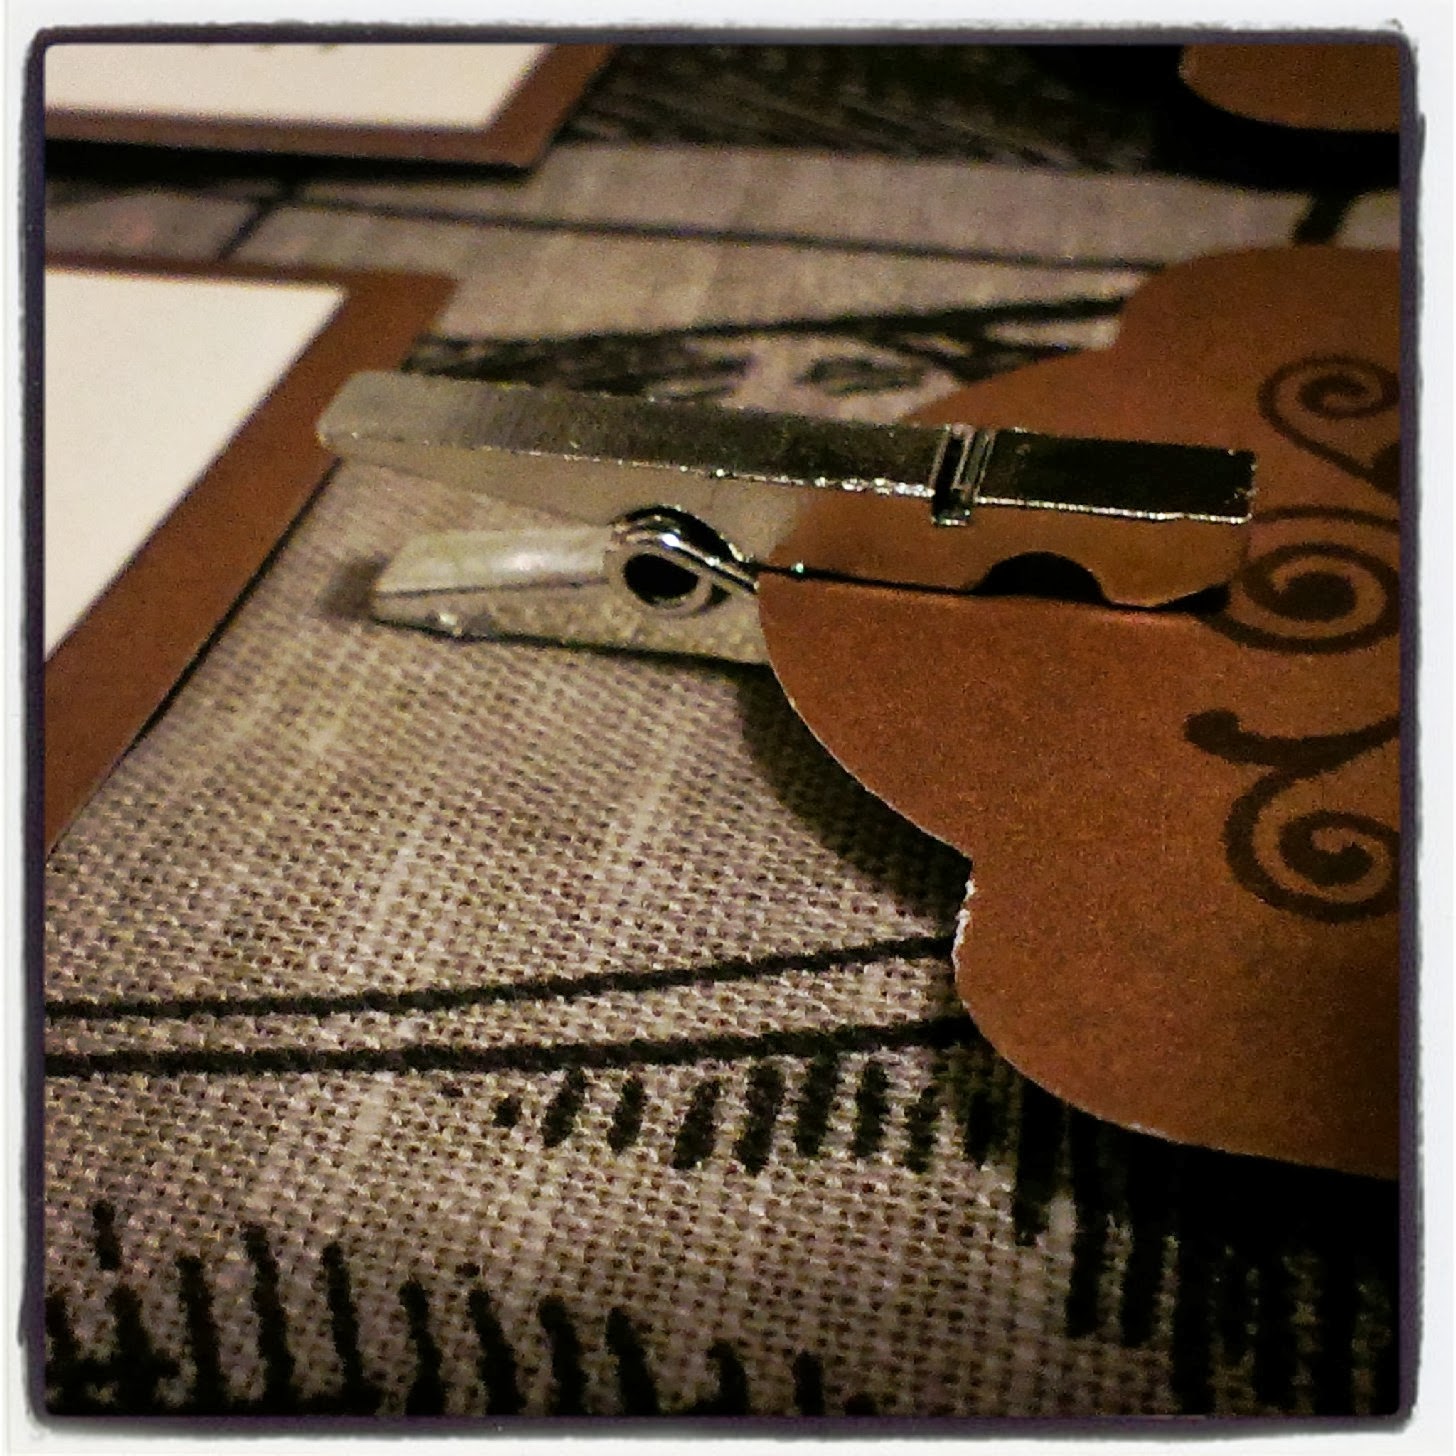
I got them all glued down and clipped the tags in place.
On the back of each tag is a name or title of Jesus as found in Scripture. I used this list in random order.

Not your typical chocolate or toy filled calendar now is it? I think it's much more in tune with advent and anticipating Christmas.

You can make this too. I don't have a Cricut to cut out tag shapes so I used a tool from my stash to cut these instead. Imagine making your own advent calendar for next Christmas. Have it all set to go and just hang it up December 1st. Why not fill it with treats or toys for your family? The magical days stamp set is still available for order. Contact me for more information, or shop straight away on my website.

Happy advent!